Creating a print of your drawing can be an exciting way to share your artwork with a broader audience, whether you’re an aspiring artist, a seasoned professional, or simply someone who enjoys drawing as a hobby. However, the process of transforming your original artwork into a high-quality print involves several important steps, from digitization to choosing the right printing method. In this article, we will explore the various techniques and considerations that will help you achieve the best results when making prints of your drawings.
Step 1: Preparing Your Artwork
Before you can make a print, it’s essential to ensure that your original drawing is in optimal condition. Here are some key considerations:
- Use Quality Materials: Start with high-quality paper and drawing materials. The type of paper you use can significantly affect the final print quality. Acid-free paper is recommended as it prevents yellowing over time.
- Clean and Repair: If your drawing has any smudges, tears, or imperfections, take the time to clean and repair it. This will ensure that the print reflects the true quality of your work.
Step 2: Digitizing Your Drawing
Once your artwork is ready, the next step is to digitize it. This can be done using either a scanner or a camera.
- Using a Scanner: For the best results, use a flatbed scanner. Set the resolution to at least 300 DPI (dots per inch) to capture fine details. If your drawing is larger than the scanner bed, you may need to scan it in sections and stitch the images together using photo editing software.
- Using a Camera: If you don’t have access to a scanner, a high-resolution camera can also work. Ensure that you have good lighting and avoid shadows. Use a tripod to stabilize the camera and take multiple shots to choose the best one.
Step 3: Editing Your Digital File
After digitizing your drawing, it’s time to edit the image to enhance its quality.
- Software Choices: Use professional editing software such as Adobe Photoshop or GIMP. These tools allow you to adjust brightness, contrast, and color balance, as well as remove any imperfections.
- File Format: Save your edited image in a high-quality format such as TIFF or PNG. These formats preserve the details and colors better than JPEG, which is a lossy format.
Step 4: Choosing the Right Printing Method
Now that you have a high-quality digital file, it’s time to consider how you want to print your drawing. There are several printing methods available, each with its advantages:
- Inkjet Printing: This is one of the most popular methods for printing artwork. Inkjet printers can produce vibrant colors and fine details. Use archival-quality ink and paper to ensure longevity.
- Giclée Printing: This is a specialized form of inkjet printing that uses high-quality inks and papers. Giclée prints are known for their exceptional color accuracy and longevity, making them ideal for fine art reproductions.
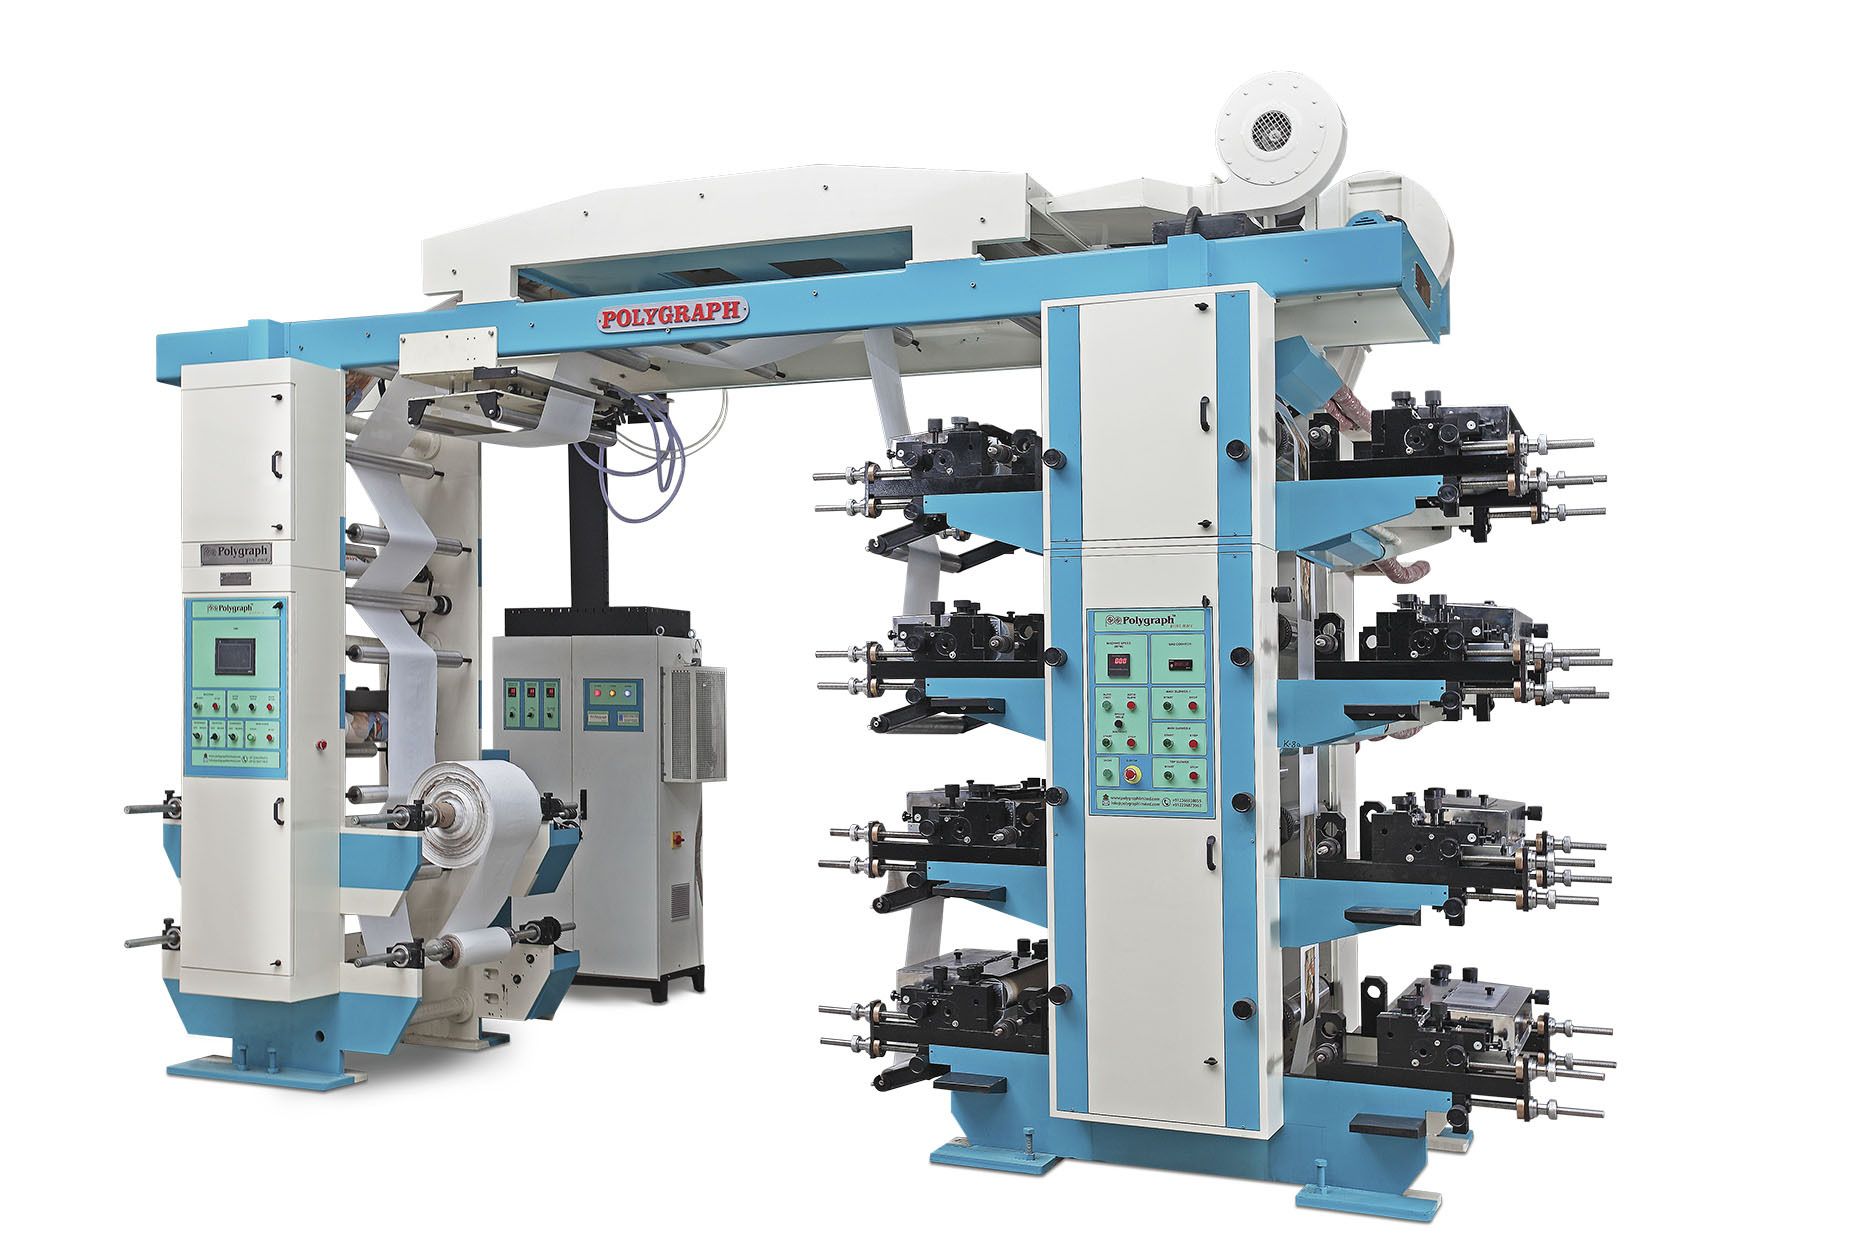
- Offset Printing: If you plan to produce a large number of prints, offset printing might be a cost-effective option. This method is best for bulk printing and can produce high-quality results, but it requires a larger upfront investment.
Step 5: Selecting the Right Paper
The choice of paper can dramatically affect the final print quality. Here are some options to consider:
- Fine Art Paper: This type of paper is designed for high-quality prints and is often made from cotton or alpha-cellulose. It provides excellent color reproduction and durability.
- Photo Paper: If you want a glossy finish, photo paper is a great choice. It’s ideal for vibrant images but may not be suitable for all types of drawings.
- Canvas: For a more textured look, consider printing on canvas. This can give your artwork a gallery-like appearance and is perfect for framing.
Step 6: Final Touches and Presentation
Once your prints are made, consider how you want to present them. Here are some ideas:
- Framing: A well-chosen frame can enhance the visual appeal of your print. Consider using UV-protective glass to prevent fading.
- Mounting: Mounting your print on a sturdy backing can help it maintain its shape and prevent warping.
- Limited Editions: If you’re looking to create a sense of exclusivity, consider offering limited edition prints. Numbering and signing each print can add value and appeal to collectors.
Conclusion
Making a print of your drawing is a rewarding process that allows you to share your creativity with others. By following these steps—from preparing your artwork to selecting the right printing method and paper—you can ensure that your prints are of the highest quality. Whether you’re selling your prints or giving them as gifts, taking the time to produce a professional-looking print will reflect your dedication to your craft. Embrace the journey from sketch to print, and watch your artistic vision come to life!

